


Getting the Band Right on a Sports Bra
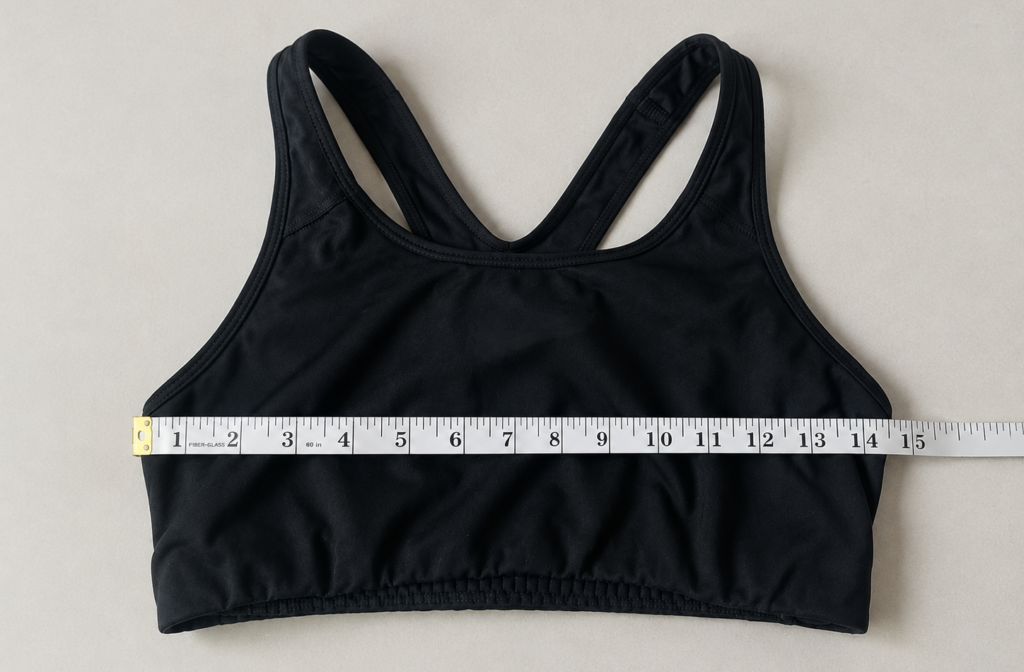
Almost every sports bra complaint traces back to the band, not the straps.
When a sports bra is not working, the instinct is to pull the straps tighter. It is almost always the wrong move. The band underneath does the large majority of the holding, and the straps only position what the band is already supporting. Tightening straps on a loose band moves the load onto the shoulders, which is why the neck and traps ache after a long session in a bra that felt fine at the start.
Getting the band right fixes most of it. Here is how to find yours.
Measuring the Band
Stand upright, breathe out normally, and run a tape measure around the ribcage directly under the bust. Keep it level all the way around, snug enough that it does not slide but not pulled tight. Read the number in inches. That is your band measurement, and for most sizing charts it is used directly rather than with anything added to it.
Measure over bare skin or a thin unpadded top. Measuring over a thick sweater adds an inch or two and sends you a size up, which is the single most common reason an online order arrives too loose.
Measuring the Bust
Same posture, tape around the fullest part of the bust, level front and back. Do not pull. The difference between this number and the band number is what the chart converts into a cup or into a support level, depending on how the piece is sized.
If you are between two numbers, note both. On a compressive style the lower number usually gives the better result. On an encapsulated style with separate cups, the higher one does.
The Checks to Run When It Arrives
- Two fingers, not four. You should be able to slide two fingers under the band and no more. If a whole hand fits, the band is too big.
- Level all the way around. The band should sit on the same horizontal line front and back. Riding up at the back means it is too loose, every time.
- Straps carry a quarter, not everything. Loosen the straps fully and jump. If the bra still holds, the band is doing its job and the straps only need setting for comfort.
- No spillage at any edge. Fabric cutting in at the underarm or over the top means the cup or support level is too small, even when the band is right.
- Arms overhead. Raise both arms. The band should stay put. If it climbs, size down on the band before doing anything else.
When to Change the Band and Not the Size
If the band rides up but the cups feel right, go down a band size and up a cup or support level rather than dropping the whole size. That keeps the same volume while tightening the part that holds it. It is the adjustment that solves the most cases, and it is the one people are least likely to try on their own.
Straps come last. Set them so they sit flat and do not slip, with about an inch of give when pulled away from the shoulder. If they are leaving marks after an hour, the band is still too loose no matter how it feels standing still.
If the First One Is Wrong
Bras are genuinely hard to size unseen, and getting it wrong on the first attempt is normal rather than a mistake. Trying one on indoors does not count as wear, and the swap costs nothing: the conditions and the free return label are set out on our Return & Refund Policy.
Thank you for shopping with us, and for keeping the routine going.